The possibility of crashing into other errors is not uncommon with QuickBooks since it uses massive codes and algorithms. Sometimes, these issues are easily fixed by just reinstalling the program. However, in a handful of instances, you'll require a completely clean installation procedure. Here is when the QuickBooks clean installation tool comes in. This article is going to provide the specifics of the QuickBooks clean install tool for Windows as well as the best method to utilize it.
What is QuickBooks Clean Install Tool?
QuickBooks is a broad program that can create lots of documents and cache memory for your PC. QuickBooks Clean Install tool can help you to completely uninstall the software and helps you save time. This tool can also help fix any issues we encounter when using QuickBooks. Here are a few of the most common scenarios when the Clean Install QuickBooks tool is necessary, and it can be resumed using QuickBooks:
- At present, QuickBooks keeps on showing errors during installation regardless of numerous attempts to install.
- When an error pops up, an internet user attempts to open multiple company files at the same time.
- If a simple re-installation of QuickBooks Desktop software isn't enough to eliminate all mistakes and the earlier ones keep popping up.
What are some most important things to remember before using the QB Clean Installation Tool?
You must know how the Clean Install Tool QuickBooks desktop works. It completely removes files off of the PC, which is why it is imperative to create backups of all the files needed before you run it. Additionally, here is a list of items you must keep in your wallet to avoid data loss.
The process of backing up corporate documents:
- Begin by inserting the flash drive into the system to create a backup.
- Then, create the backup of the company's files to open QuickBooks Desktop.

- Then go to File and click"Backup" from the Backup Company option, this will create a local copy.
- You can pick between the options of Online Backup or Local Backup based on your preferences. It is always secure to save data on the Flash drive since it's fast and easy to move files back.
- After that, click the button next then follow the steps listed on the screen to finish this backup.
Make sure to keep the Product and License number under control:
After the QB software has been removed from your system, you need to have the license and Product number to be able to access the program. Therefore, make sure you can access them. To do this, just clear the F2 button or press the CTRL+1 keys to display the product information.
How do I install and use QuickBooks Clean Install Tool on Windows?
For a successful reinstallation of the QuickBooks Desktop, there are 3 steps to follow. QuickBooks Desktop, there are three steps that a user must complete. They are:
- Uninstalling QuickBooks Desktop
- Using QB Clean Install Tool for Windows
- Re-installing QuickBooks in the System
Step 1: Uninstalling QuickBooks Desktop
- In the beginning, it is necessary to press Windows + R keys on your keyboard to launch the RUN command.

- Then, go to Control Panel from the search bar. You can then follow by clicking OK.

- Go to the tab Programs and Features, and then select the option to remove the program.

- On the top of the page, select Software Click on QuickBooks Desktop and select Uninstall Follow the steps to finish this step.

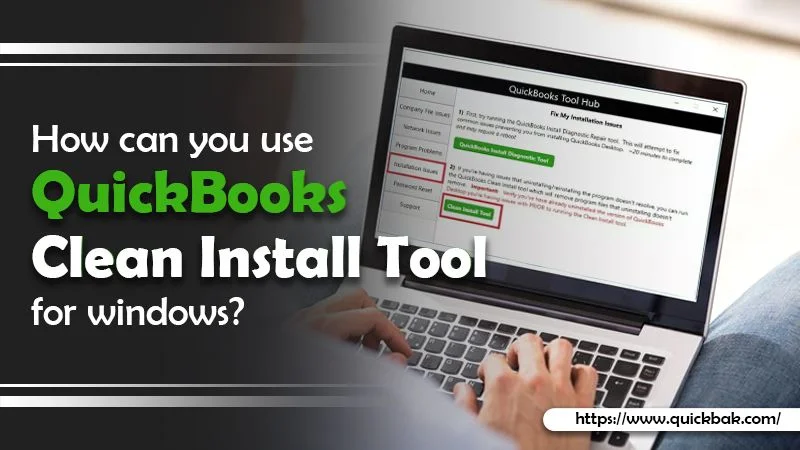
Step 2: Using QuickBooks Clean Install Tool for Windows.
In this stage, you'll need to change the names of the installation folders and this is easily accomplished using the QuickBooks clean installation tool. The steps to follow for this procedure are as below:
- Firstly Download the QuickBooks Tool hub from the official website of Intuit. Followed by moving to the folder where the downloaded files have been saved.
- Then install the program using the instructions displayed on the screen.

- Click on "I Accept" to finish the installation process. Then, launch QuickBooks Tool Hub. QuickBooks Tool Hub from the Desktop.

- Here, click on Clean Install Tool after selecting Installation Issues.

- Select QuickBooks Desktop Version. Select QuickBooks Desktop Version which was installed before and click Continue.
- After a few minutes it will show on the screen: 'Please install your version of QuickBooks in its default place'. Click on OK to proceed with this step.
If you're inaccessible to QuickBooks when you are changing the name of the folders, steps that can be taken according to:
- Start the Windows taskbar, then switch to the Task Manager.

- Choose the Processes tab and then click the header for the column containing the image's name.

- Opt for exe, QBDBMgern.exe, qbw32.exe, QBCFmonitorservice.exe, and then click on END.

- It is the next thing to do, which involves clicking "Yes" at the point you see a warning messages on the display.

Step 3: Re-installing QuickBooks in the System
- Install the CD of the QuickBooks Desktop. Insert the CD of the QuickBooks Desktop and follow the instructions displayed on the screen.

- After the software has been installed on your system It will then ask for the product's license number and the number. Enter the information exactly as they were in the system previously.

- Once you have entered the above data then follow the instructions on the screen to complete the process.
- Hit Next.
- Select the kind of installation you want to install and then select the next option to install.

- When you have completed the process, you'll be able to use QuickBooks.

Renaming QuickBooks manually Desktop installation folders
The QuickBooks Clean Install tool isn't compatible with Windows 2020. Therefore, in this situation, you will need to follow these steps to rename these folders by hand:
1- Go to the Start menu and search for File Explorer and then open it. 2- Open your file that contains the company's file.
- C:\ProgramData\Intuit\QuickBooks (year)
- C:\Users\(current user)\AppData\Local\Intuit\QuickBooks (year)
- C:\Program Files\Intuit\QuickBooks (year)
- 64-bit version C:\Program Files (x86)\Intuit\QuickBooks
3- Locate the folder, then right-click the folder to select the rename tab. 4- Then, you should make sure to add the old name to the end of the name of the folder. This will prevent the QuickBooks desktop from opening after you install it again. 5- Reinstall QuickBooks desktop.
If you receive an error message when you rename the directory " the access denied while renaming the folder " The steps below can assist:
- You must hit CTRL + Shift + ESC keys to launch Task Manager. Also, you can search for the task manager on the Start menu bar.
- Open the processes tab.
- Select the column with the name header to sort the list.
- After that look for these in the processes tab QBDBMgrN.exe, QBDBMgr.exe, QBCFMonitorService.exe, Qbw32.exe and end these listed processes.
- If you received the message warning: "Terminating a process can cause undesired results" select the Yes button.
There you go with the solution!
Installing QuickBooks for Windows by using the QuickBooks Clean install tool becomes effortless when you're familiar with the steps that are listed in this. If the issue persists or you are experiencing any other issue after you've completed the above steps call our 24 hours a day QuickBooks support for enterprises via our number for help i.e. the number is XXXXXXXX. With our highly-trained experts and top-of-the-line tools, we can provide fast and accurate QuickBooks Accounting solutions.